10 Ways Crew or Ankle Trainer Liners Guard Against Blisters and Dirt
Uncomfortable chafing and damp, abrasive linings can quickly turn a lively walk across the city or a demanding day at work into a challenge for your feet. Deciding between different trainer linings—such as ankle or crew styles—can seem uncertain, as factors like coverage, material choice, and fit all shape how your feet experience comfort and protection. Understanding these elements helps you step out confidently, whatever the day holds.
This post explores key factors such as friction control, moisture management, heel support, fit, and durability to help you understand the essential qualities of trainers, high tops, and low-cut footwear. Discover which features truly matter for active days on the high street, time at the gym, or relaxed weekends, and learn how conscious choices in footwear can support both comfort and purpose.

1. Why Do Blisters and Grime Develop?
Blisters often form when repeated friction causes layers of the skin to separate, allowing fluid to build beneath areas experiencing irritation. Moisture, heat, and sweat can soften the outer skin, altering its frictional behaviour and increasing the risk of blistering. Noticing damp patches or signs of abrasion on footwear linings after a walk can correspond to sore areas on the foot, highlighting the impact of moisture on skin resilience. As skin becomes softer and more prone to gripping surfaces when damp, the likelihood of discomfort rises — a reminder to consider both materials and movement when seeking comfort and protection during active pursuits.
Seams, folds, and tight collars in footwear interiors can create localised pressure and friction. To identify potential problem zones, mark suspected hotspots, wear your trainers for a short period, and inspect your skin for signs of irritation. Trapped grit, salt crystals, and debris act as abrasive particles and retain moisture, so it is important to turn footwear interiors inside out after use, checking for embedded particulates and cleaning them thoroughly. Individual factors such as calluses, skin thickness, and previous blisters influence risk. Practical, evidence-based measures include gradually increasing exposure to new footwear, maintaining careful hygiene and thorough drying, managing seams to minimise friction, and considering the use of friction-reducing products.
Choose softer, movement-friendly layers to reduce chafing.

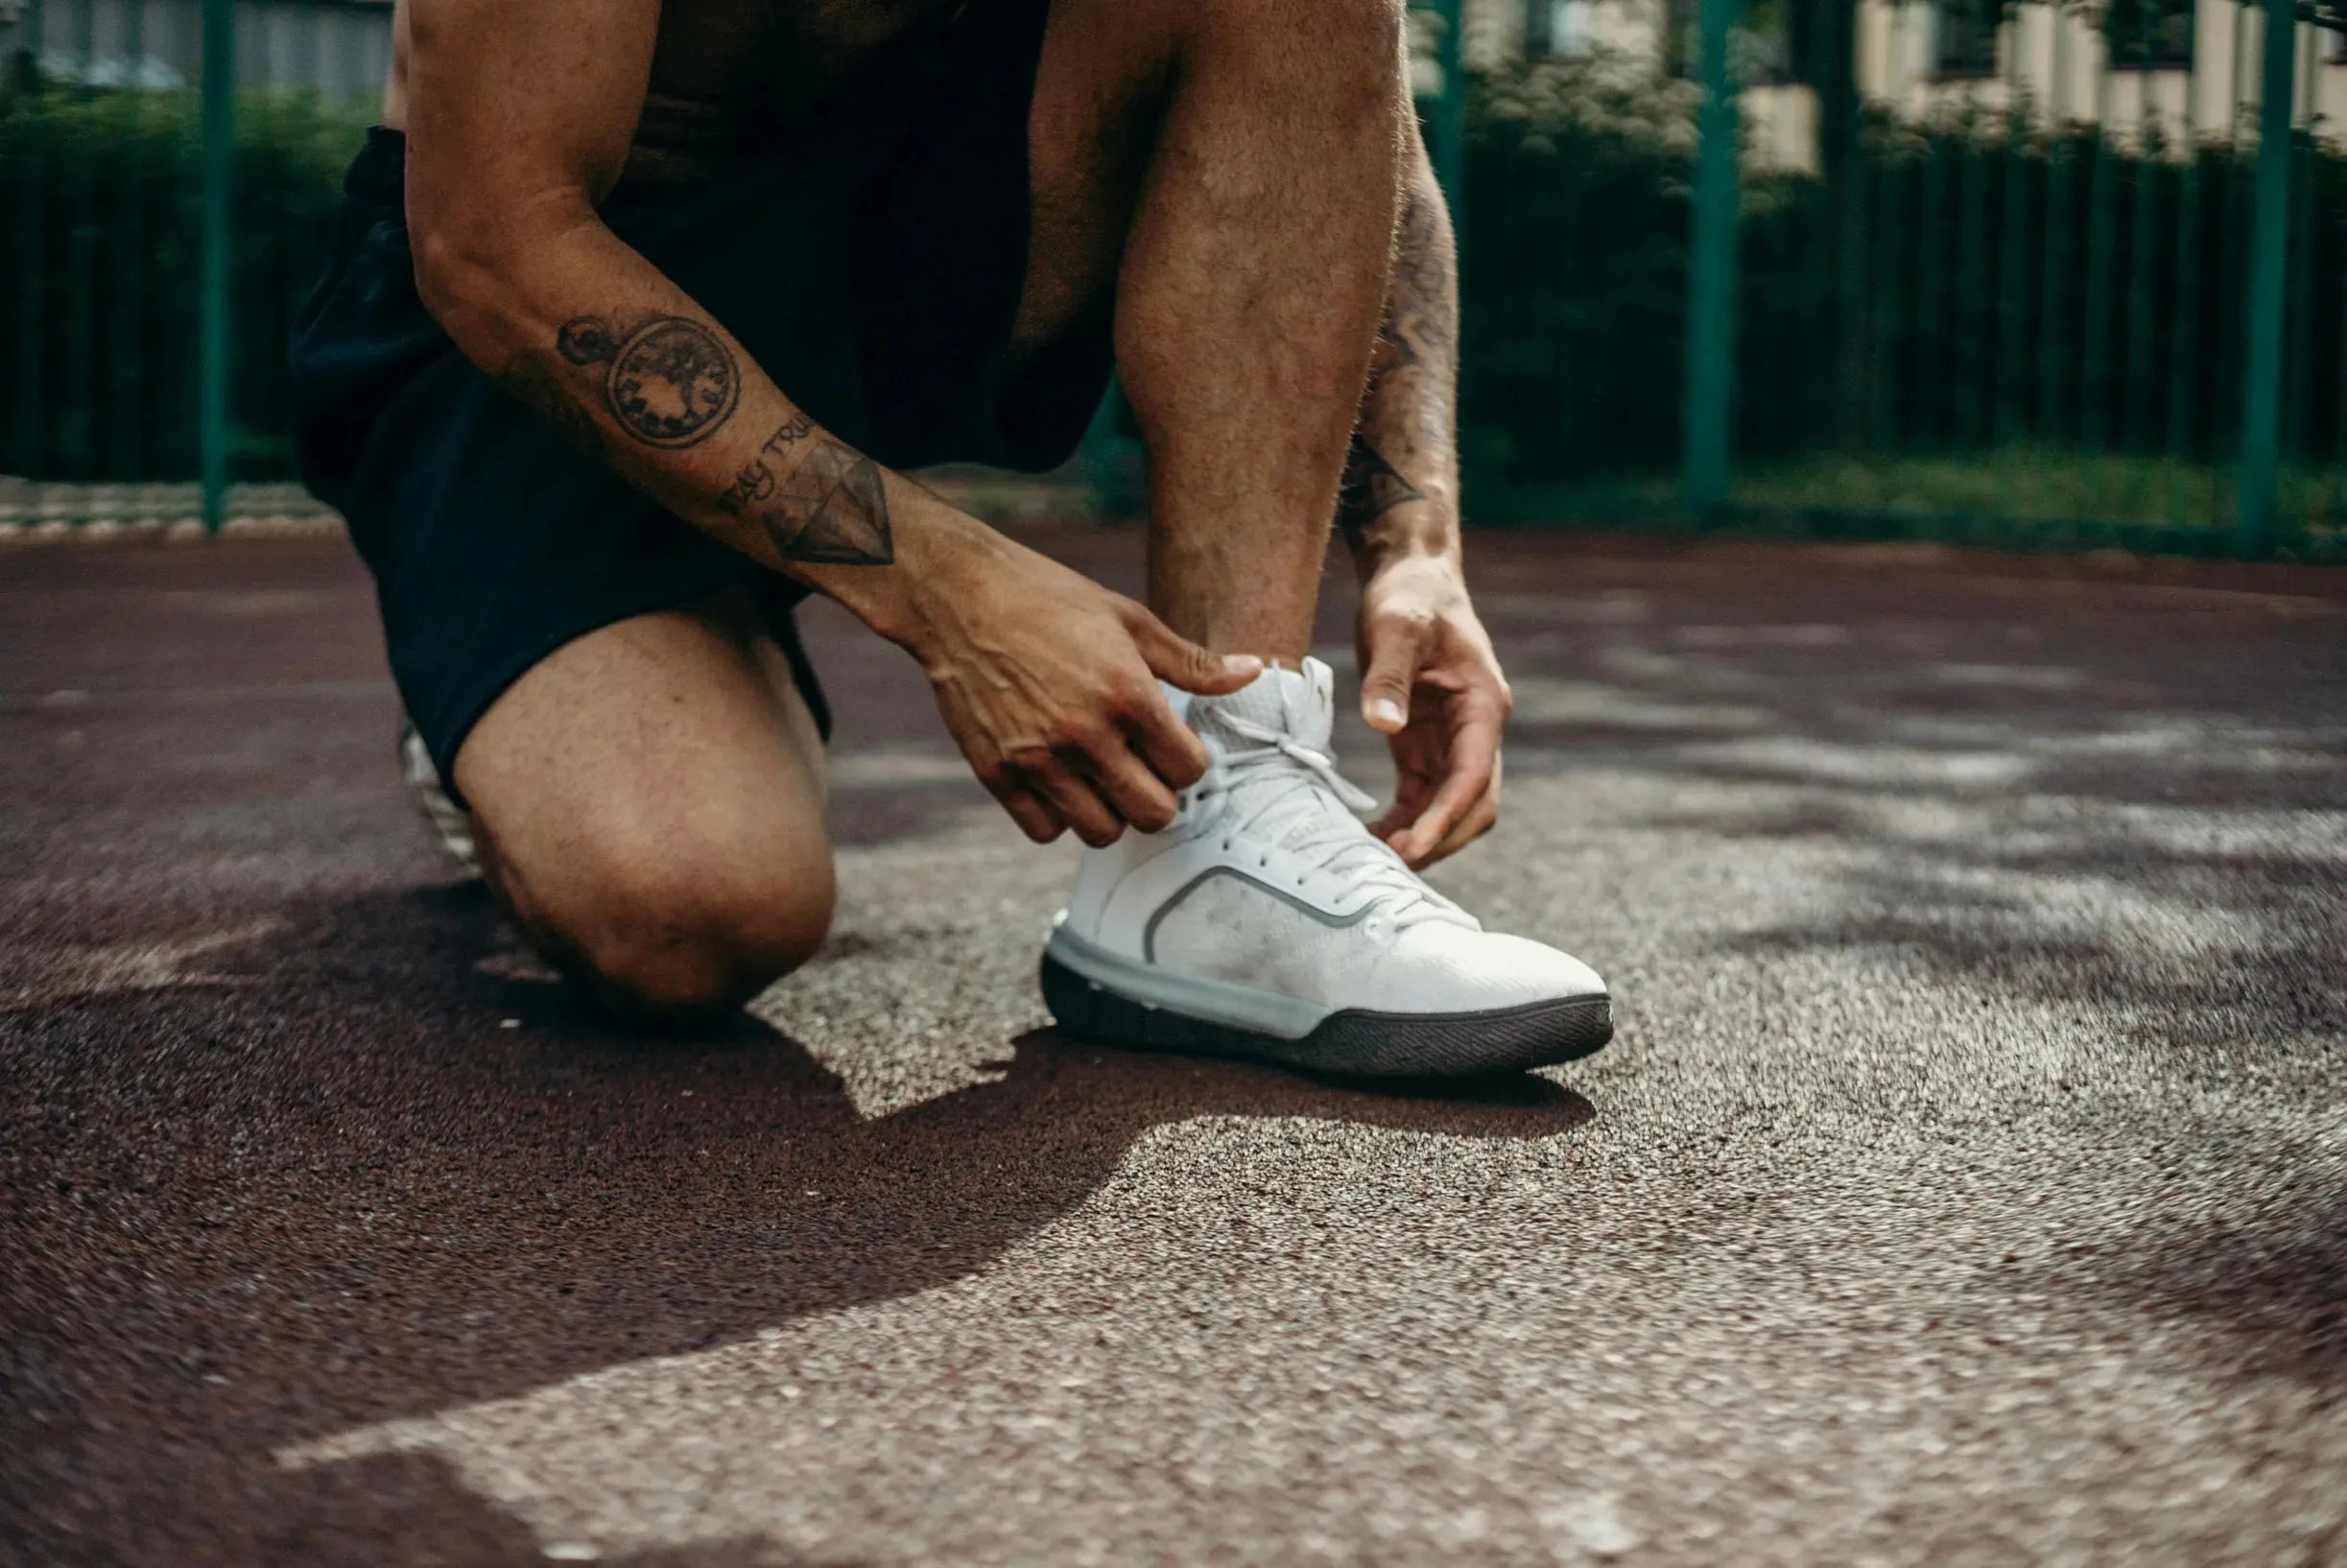
2. Select crew or ankle liners to suit your style and needs
Begin by sketching an outline of your trainer, marking areas typically prone to blisters: the heel, Achilles, ankle bone, collar, and forefoot. Consider how different footwear coverage provides protection for each zone. To assess comfort and fit, wear your preferred base layers with your trainers and take a brisk stroll, including a short descent or flight of stairs. Test heel lift by sliding a finger behind your heel; more than a finger's width could indicate a greater risk of rubbing. Make note of where seams or edges align with pressure points, and gently run your hand inside the trainer at the collar to identify spots where friction could build up during daily movement.
When choosing between different trainer lengths for your active lifestyle, consider how each style manages moisture and handles the demands of city and countryside exploration. After a brisk walk along gravel paths or through damp city streets, notice where your footwear keeps you dry and where it could use extra support. For longer excursions or where extra protection around the ankle is needed, a higher profile might offer that added resilience. In warmer weather or when moving fast through city pavements, lighter low-cut trainers can provide breathability and swift drying. Balance your needs for comfort, support, and versatility, and weigh factors like fit, potential for debris entry, and the visibility you want to achieve. Your choice should reflect your priorities and the journey ahead.
Layer mid-weight fleece for comfortable trainer testing.

3. Choose Materials and Padding for Enhanced Comfort and Grip
The chemistry of fibres and the finish of the fabric play a decisive role in how materials feel against the skin. Hydrophobic synthetic fibres tend to be slicker than cotton, especially when damp. To get a sense of this, try running your fingertip across a wetted sample or use a simple friction test to observe how grip changes with moisture. The way a knit is structured also matters—tight, flat knits hold their shape and resist bunching, while looped or terry fabrics create a softer, less resistant surface. To assess stretch and flexibility, gently pull and bend fabric samples, inside and out, simulating the natural movement of the foot to identify any potential discomfort from folding or slipping. When it comes to padding, compare options such as closed-cell foam and low-profile cushioning by checking how well they hold their shape and resist sliding. Focus on using targeted padding in key areas such as the heel and forefoot, rather than opting for thick layers throughout. A short walk and a visual check can help spot any irritation or movement of padding, ensuring comfort for everyday wear.
Managing moisture is key to comfort and performance. Trapped sweat increases friction and makes dirt cling, so consider materials with an inner layer designed to move moisture away from the skin and an outer layer that helps repel rain and splashes. After activity, check how well the fabric lets go of surface dirt and whether it clings or shifts uncomfortably. To test durability and comfort, try repeated movements, short walks, and simple checks for slipping or pressure marks. Launder and see how the fabric holds up over time—look for any signs of wear or change in padding. Practical tests like these help you weigh up different knits, fibres, and padding options so you can choose combinations that keep you moving comfortably, whatever your routine.
Try a mid-weight cotton-faced layer for everyday comfort.

4. Manage moisture and maximise breathability
Moisture plays a crucial role in foot health. Damp skin can soften, increasing friction and the risk of blisters, while also creating an environment where bacteria may thrive. When selecting materials for footwear or foot coverings, prioritise smooth, synthetic or merino blend fabrics that wick moisture and dry swiftly. Opt for a low-friction inner layer paired with a more absorbent outer layer to help move moisture away from the skin. It's best to steer clear of cotton close to the foot, as it tends to trap dampness and prolong discomfort. Making thoughtful material choices helps create a drier, healthier environment for active lifestyles.
Pair breathable features—such as perforations, mesh uppers and removable insoles—with a moisture-wicking liner to encourage airflow and maintain a drier environment inside your trainers. After each wear, take out the insoles and wash liners regularly (avoiding fabric softener) to keep performance high. Speed up drying by loosely stuffing your trainers with absorbent paper before storing them. Compare the effectiveness of different liners by checking for retained dampness, timing how quickly they dry and noticing any lingering odours. Observing these details will help you find the combination that keeps feet drier and minimises friction, supporting comfort and reducing the risk of blisters.
Read

5. Enhance fit and heel support for lasting comfort
Begin by ensuring your liners and trainers are well matched in both length and width, with the liner inside the trainer. Aim for a close fit at the toes without unnecessary extra space. As you walk, check for any slipping at the heel or movement towards the front, as these often lead to discomfort. Adjust liner seams away from pressure points and keep everything smooth and flat for a comfortable, irritation-free fit. A single, even layer between your skin and trainer helps minimise friction and keeps things fresh.
Achieve a secure fit at the heel by threading laces through the uppermost eyelet to anchor your foot in place. Fine-tune the tension so your trainers stay snug without causing any discomfort. Rather than swapping out for a different size, customise the internal fit with slim heel pads, discreet insole wedges, or by adjusting the insole forward to close any gaps. Test these tweaks on your usual route, changing only one detail at a time, and note where you experience friction or build-up of debris. Use these insights to experiment with liner heights, seam placements, lacing patterns, or added padding, refining each element until your trainers feel consistently comfortable and ready for the high street or your next adventure.
Provides cushioned heel and toe support for all-day comfort.

6. How to Pair Liners with Trainers, High Tops, and Lows
Pair your trainers or high tops with the right invisible or crew choices to ensure comfort and a seamless look. For low-cut trainers, opt for options that sit just below the collar to keep lines clean and prevent chafing. High tops, on the other hand, work best with styles that extend above the collar, creating a continuous barrier and reducing friction. Prioritise breathable, low-friction fabrics for mesh trainers, and slightly cushioned, denser materials for less ventilated high tops. When trying out new options, take a short walk to check for a secure fit and comfort—look for any rubbing or damp spots, and adjust as needed to keep every step effortless and irritation-free.
Consider how liner length and cuff design can help keep grit at bay. Crew liners that rise just above the collar often provide a barrier against debris entering at the ankle, while well-fitted ankle liners sit neatly inside low-cut trainers to minimise internal friction. After walking across loose gravel or grass, check inside your footwear to see how much debris each liner style allows in, and note if the liner shifts, folds, or creates uncomfortable pressure against the collar. If you notice friction linked to specific movements—like side steps in trainers or twists in high tops—experiment with different liner heights or materials to distribute contact more evenly and reduce the chance of blisters.
Slip into mid-weight fleece for post-walk comfort.

7. How Coverage Shields Your Trainers from Dirt and Splashes
Assess vertical coverage by standing in a shallow tray or pouring a small amount of water at the toe, noting whether moisture stops below the ankle bone, at the collar, or penetrates further. Use these observations along with spray or muddy-patch tests to compare visible marks, dampness, and how easily each option rinses clean. Flex the ankle, take a few purposeful steps, and examine the seal between the collar and your skin for potential entry points, paying close attention to exposed areas at the heel or outer ankle where grit may find its way in. Take note of where dirt tends to collect—beneath the collar, around the Achilles, or inside the tongue area—to make comparisons more concrete.
Collar height, lacing, and heel support play a key role in whether your trainers keep out dirt or allow debris to slip inside. Try out your footwear on varied terrain and notice if the collar offers full coverage or exposes the ankle when moving uphill or crouching. After each outing, pay close attention to where dirt or moisture collects, how easily the material cleans up, and whether your feet stay protected. Use these insights to match your trainer choice to the day's conditions, choosing greater coverage for splash-prone trails or lighter options when fast drying and easy care are the goal. Experiment with different footwear styles on familiar routes to find what best suits your active, city-driven lifestyle.
Choose an easy-care tee for faster turnaround between outings.
![{"image_loaded": true, "load_issue": null, "people": null, "setting": null, "objects": {"primary_objects": ["blue sneaker"], "secondary_objects": null, "object_interaction": null}, "product": {"orientation": "side view, showing outer side of sneaker", "context": "product isolated on white background, no use context"}, "composition": {"subject_focus": "sneaker centered and taking most of the frame", "relationships": "no other objects or elements present", "depth_structure": "flat, no visible depth or backgro](https://cdn.shopify.com/s/files/1/0416/7663/6312/files/image_loaded_true_load_issue_null_people_null_setting_null_objects_primary_objects_blue_sneaker_secondary_objects_null_object_interaction_null_product_orientation_side_view_showing_ou.webp?v=1772353630)
8. Choose versatile trainers for work, gym, and the weekend
Choose footwear that complements your activity and the silhouette of your trainers or boots. For styles where the collar meets your lower leg, seek designs that offer coverage to prevent rubbing and help keep out grime. For low-cut trainers, opt for options that maintain a secure heel fit without adding excess bulk. Prioritise materials that wick away moisture and dry quickly during high-intensity sessions, and consider extra cushioning if you spend long periods on your feet or take on impact-heavy activities. Balance thickness for comfort and protection, ensuring your fit remains secure and supportive. When in doubt, brief wear tests can help confirm the best pairing for your everyday movement.
Keep your trainers performing at their best by choosing gentle, eco-friendly cleaning methods and steering clear of high heat, which can compromise material integrity and treated finishes. Regularly check for signs of wear like thinned fabric or frayed seams, as these are cues for when it's time to refresh your kit. Consider rotating your footwear based on activity—hold one pair for intense workouts, another for outdoor adventures, and a lighter option for weekend city strolls. By mixing and matching and paying attention to how each pair responds, you reduce overall wear, limit unwanted build-up, and discover which choices keep you moving comfortably, whatever the day holds.
Choose breathable, structured layers for everyday movement.

9. Put trainers to the test for comfort and clean strides
To ensure fair and consistent assessment of footwear performance, it helps to keep shoe and liner combinations the same throughout, vary the surfaces—think tarmac alongside muddy or abrasive paths—and focus on a set number of steps or a fixed distance. Weigh the liners before and after each trial, and use standardised photos with a ruler for scale to compare moisture and soil pick-up. Observe feet immediately post-wear and after a period of rest, documenting any signs of blisters with photos and noting discomfort or reduced mobility for a clear sense of real-world impact. For a closer look at fit, mark reference points inside the shoe and on the liner, perform a series of heel lifts or strides, and measure any movement in millimetres to pinpoint areas more likely to cause hotspots or blisters. To gauge how much dirt the liners collect, photograph them against a neutral background, score soil coverage on a 0 to 5 scale, brush off debris, and weigh again for a sense of retained grime. Don’t forget to note the liner’s colour and fibre type, as these influence how dirt appears and sticks. This thorough process helps highlight how design details affect comfort, cleanliness, and foot health with each wear.
Present comparative results using clear metrics, such as blister incidence per 10,000 steps or across set distances, median blister size, and moisture gain in grams alongside cleanliness scores. This approach helps readers understand how different foot coverings protect during movement. Highlight trade-offs, like greater moisture management potentially allowing more lateral movement, and encourage repeated testing with varying foot shapes and walking styles to ensure findings are robust. Standardised photographs, weight measurements, and displacement data offer transparent, evidence-based insights on whether different types of foot liners provide superior protection against blisters and dirt.
Wear cushioned socks to reduce friction and blisters
![{"image_loaded": true, "load_issue": null, "description": "The image shows two young adults outdoors on a wooden deck. One person is crouching in the foreground, wearing a black shiny coat, a pink ribbed dress, white socks, and white sneakers. The other person is standing behind, wearing a red and black plaid shirt, light gray pants, and white sneakers. The background includes leafless trees, a wire fence, and a building. The sky appears cloudy or overcast.", "people": {"count": 2, "roles": ["models"], "vis](https://cdn.shopify.com/s/files/1/0416/7663/6312/files/image_loaded_true_load_issue_null_description_the_image_shows_two_young_adults_outdoors_on_a_wooden_deck_one_person_is_crouching_in_the_foreground_wearing_a_black_shiny_coat_a_pink_ri_a4239a0b-7cb0-4362-bbf1-c82fd6ccec30.webp?v=1772353638)
10. Assessing Longevity, Upkeep and Eco Footprint
Assessing durability at home starts with simple, effective checks inspired by the thorough testing seen in quality labs. Monitor abrasion, seam strength and elasticity by examining your trainers for signs of wear, photographing any fraying, and noting how well the material bounces back after compression. To prolong the life of your footwear, wash trainers inside-out in a mesh bag designed to capture fibres, opt for mild detergent, and steer clear of fabric softeners. Always air-dry and reshape, storing your shoes completely dry. These straightforward steps help preserve the fabric’s integrity and reduce microfibre release, supporting both your wardrobe and the planet.
At the fibre level, synthetics hold their shape and resist wear, though they can release microfibres during washing. Natural fibres break down more readily but may lose structure sooner and benefit from gentler care. Treatments for waterproofing or odour resistance can complicate responsible disposal, so prioritise liners with straightforward fibre content and clear end-of-life guidance wherever possible. Seek out practical maintenance cues and straightforward repair options: swap out a liner if persistent odour lingers after washing, if you spot thinning patches, holes, lost stretch, or seams coming apart. Extend use by reinforcing seams, patching with like-for-like fabric, or renewing elastic. When it’s time to part ways, separate materials if feasible, repurpose worn liners as cleaning cloths or padding, and consult recycling or textile collection schemes often available on the high street. Always check garment labels for fibre composition and genuine recycling or composting advice, ensuring your choices align with a sustainable lifestyle.
Understanding the impact of friction, moisture, support, coverage, and durability can help identify which footwear features best promote comfort and cleanliness. By considering factors like movement, moisture management, and environmental exposure—rather than relying solely on high street labels—it's possible to select materials and silhouettes that match your needs and the demands of your environment.
Use practical checks in your routine—a protection map, moisture and fit assessments, and a home durability check—to create a consistent decision guide. Apply this process to your trainers or high tops, rotate liners mindfully, and you’ll help reduce pressure points, keep out unwanted grime, and extend the lifespan of your footwear. Purposeful care is a conscious step towards lasting style.

