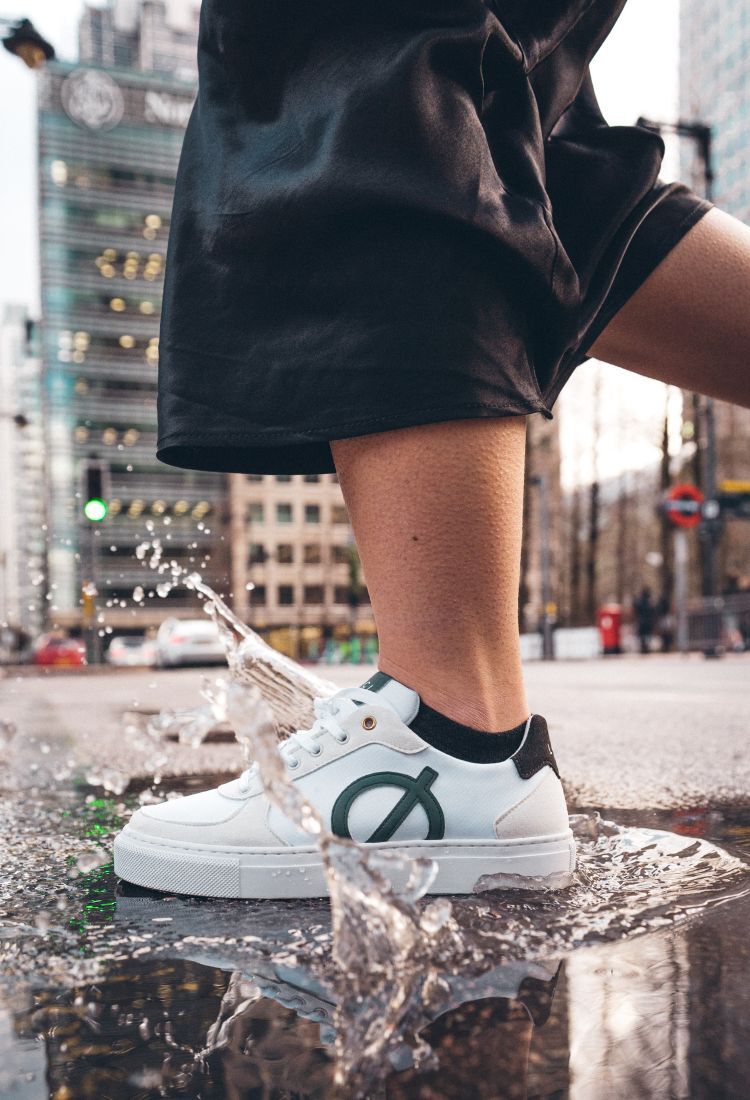
3 Checks to Match Men's Vegan Trainers to Your Foot Shape and Activity
Choosing the right pair of men's vegan trainers often feels like guesswork because brands vary in sizing, cushioning, and arch support. That inconsistency can cause blisters, aching arches, poorer performance, and trainers that wear out before you do.
Follow three practical, evidence-based checks to stop guessing. Measure and map your foot: length and width, arch height, and basic biomechanics; a quick wet test or a short gait video will reveal pronation or supination. Match cushioning, arch support, and stability to your main activity, for example cushioned, flexible trainers for running, firmer support for lifting, or a stable build for long days on your feet. Test the fit with simple adjustments, such as alternative lacing patterns, a thin insole, or a 10-minute walk or jog to confirm comfort. These steps show why a trainer feels right, so you spend more time moving comfortably and less time replacing or returning pairs.

1. Assess your foot's shape, size, and biomechanics
Stand barefoot on a sheet of paper and trace the outline of each foot with your weight evenly distributed. Measure from the heel to the longest toe, and measure the widest part of the forefoot while standing. Use the larger of the two length and width measurements when you consult size guides rather than assuming your usual size. Do a simple wet test to classify your arch: wet the sole, step onto stiff card or paper, and compare the imprint. A narrow, broken print usually indicates a high arch, a full print a low arch, and an in-between print a neutral arch. Low, flat prints often link to greater pronation and benefit from stability features; high arches concentrate pressure on the heel and forefoot and typically need extra cushioning and flexibility. Measure forefoot width carefully, and when standing allow roughly 1 to 1.5 centimetres from your longest toe to the front of the trainer. Also check for sufficient width across the bunion area, or extra depth if you have a high instep or a high-volume foot.
Check outsole wear on old trainers to read your gait. Scuffed or flattened rubber along the inner edge often indicates an inward roll, while wear on the outer edge points to an outward roll. Even, central wear typically signals a neutral gait. Use those observations to narrow shoe types: even wear for neutral cushioning, inner-edge wear for stability or firmer support to resist collapse, and outer-edge wear for extra cushioning to improve shock absorption. Record a short video of your walk or run from behind, at a steady pace. Look for inward or outward roll through the ankles and heels rather than relying on single steps; consistent movement gives a clearer picture than an isolated stride. If wear patterns or footage show different tendencies during walking versus running, note both—your trainer choice may differ by activity. Pay attention to fit during your typical workouts. If your feet slide, rub, or swell, prioritise heel lockdown, secure midfoot support, or increased breathability, respectively. Try different lacing techniques and volume adjustments in the shop or at home and observe how they change comfort. If you need extra room for toes, favour deeper toe boxes. When wear patterns, gait footage, or persistent discomfort leave you uncertain, book a professional gait or pressure analysis. These tests produce objective maps of foot loading and motion, which deliver tailored recommendations you can trust.

2. Align cushioning, arch support, and stability with how you move
Match cushioning to the impact and turnover your activity demands. Plush foams lower peak forces by spreading load over a longer contact time and suit long walks and steady runs. Responsive midsoles speed turnover (how quickly your foot leaves the ground), so they work better for intervals and short runs. Test this on the move: try a short run, brisk walk, or gym circuit to judge whether the feel protects without deadening your stride. Align arch support with your arch height and pronation. Do a simple wet test: dampen your foot, step onto a sheet of paper, and compare the imprint to a reference for low, medium, or high arches. Choose trainers with removable insoles so you can add a custom orthotic if needed. Press the trainer along the midfoot to confirm built-in support sits under your arch. These practical, on-feet checks reveal whether cushioning and arch geometry match your body and movement patterns, helping you pick trainers that protect and perform.
When choosing trainers, match stability features to the lateral demands of your sport and your pronation pattern. Overpronation benefits from a firmer medial platform, a stiff heel counter, and a wider midsole base, while underpronation usually favours extra cushioning and greater flexibility. Recreate single-leg squats and side shuffles to check whether your ankle and knee stay aligned. Inward collapse or excessive roll signals a need for more stability. Choose sole construction and heel-to-toe drop for the task: flat, stiff soles suit heavy lifting, cushioned, slightly higher-drop designs work well for road running, and deeper lugs with underfoot protection help off-road routes. After a short session, inspect insole imprints and outsole wear. If you spot hotspots, new joint pain, and rapid wear, try different cushioning levels, support inserts, or an alternate last before committing.

3. Try your trainers on, tweak the fit for all-day comfort
Lace the trainers as you will wear them. Stand, walk briskly, and do a few squats to reveal pinching, hotspots, and excessive heel lift. Check that the shoe bends where your foot flexes; if it does not, repeated movement can create friction. Use the thumb test: leave about a thumb’s width between your longest toe and the front. Walk several steps to observe heel slip; if it occurs, try a heel-lock lacing to reduce movement.
Small lacing tweaks, such as skipping or doubling eyelets, repositioning the tongue, or using a heel lock, often relieve pressure points without switching shoes. Skipping or doubling eyelets redistributes tension across the upper, repositioning the tongue reduces hotspots, and a heel lock secures the heel to limit slippage and inward or outward rolling. Remove the factory insole to measure internal length and depth, compare arch contact with a thin trial insole or your orthotic, and check that the heel cup sits snugly against the heel. Vegan materials vary in stretch and breathability, and feet expand with activity, so test trainers with the liners and on the surfaces you will use. Aim for a little extra toe-box space rather than a tight fit, and try different insole or liner thicknesses to fine-tune comfort before deciding.
Choosing the right pair of men's vegan trainers is simple: measure your foot and map its shape and biomechanics, match cushioning, arch support, and stability to your activity, and test the fit with short on-foot checks. Following these steps reduces blisters, hotspots, uneven wear, and joint strain by aligning shoe geometry with how your foot moves under load.
Work through the three checks: measure and map, match cushioning and stability, and test fit. Compare options methodically, rather than guessing. Try trainers while wearing your usual clothing and on the surfaces you normally use. Adjust insoles, lacing, or the last until the shoe protects, supports, and feels right.
