Extend the life of your vegan trainers with simple at-home repairs
If your vegan trainers look tired, with scuffed toes, loose seams or a lingering odour, replacement is not the only option. Simple, practical care at home can often restore fit, appearance and comfort.
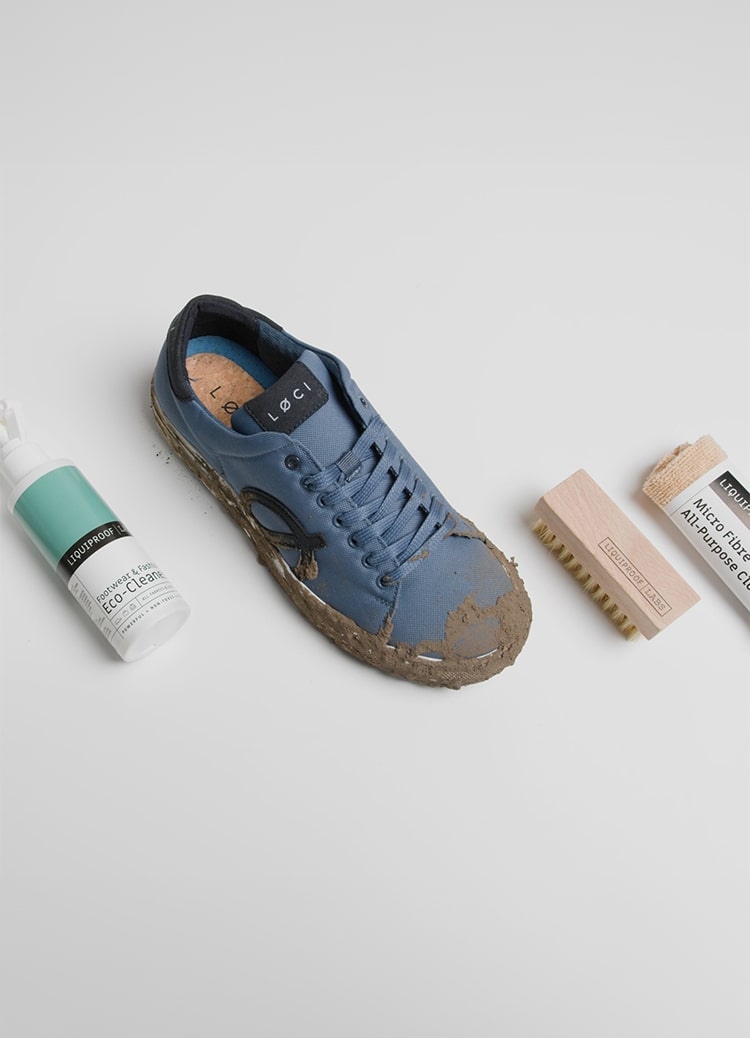
This guide shows you how to inspect and clean trainers to spot damage, carry out repairs to soles, seams, scuffs and fastenings, and protect them with suitable treatments, storage and routine maintenance. Follow these practical checks and hands-on fixes to extend their usable life, reduce waste and keep them performing for many more wears.

Check and clean trainers to catch damage, odour and wear
Begin with a close visual and tactile check of the upper and outsole. Look for frayed stitching, loose eyelets, splitting seams, discoloured glue lines, gaps where the sole meets the upper, and surface cracks that often precede sole separation. Remove the laces and take out the insoles to inspect the lining. Smell inside for musty, sour or chemical odours that can indicate mould, trapped sweat or adhesive breakdown, and note any dark patches or sticky residues. Flex the trainer along its natural bend and press the midsole to assess cushioning rebound. Permanent creases or uneven compression indicate lost resilience and will affect comfort and gait. A quick check like this helps you spot issues before they worsen.
Before cleaning your trainers, test a small, hidden area with a soft brush and a diluted, gentle cleaner to check for any colour change or texture alteration. Use absorbent material inside to lift persistent odours, then remove and gently agitate the lining or insole to see if the smell returns; this helps distinguish removable smells from material degradation. Inspect fastenings, trims and glued joints for movement, residue or expanding gaps at the sole edge, and look for visible thread loss at stress points or crumbling foam. Document the exact spots of concern so you can decide whether a tidy touch-up, a targeted repair or professional resoling will restore usable life, using the physical evidence to guide your decision.
Stay comfortable while you clean and repair your trainers

Keep your trainers moving: repair soles, seams, scuffs and fastenings at home
When a vegan trainer sole starts to separate, act promptly. Clean both contact surfaces with isopropyl alcohol or warm soapy water, then lightly roughen them with fine sandpaper. Test the adhesive on an inconspicuous area first to check for colour transfer and to confirm it stays flexible once cured. Apply a flexible contact adhesive formulated for rubber and synthetic materials evenly with a brush, press the parts together and maintain firm, even pressure until the bond sets and remains flexible. Trim any excess glue and inspect the joint for gaps. Careful finishing reduces the risk of the repair catching or re-opening and helps keep your trainers in motion.
Repair seams and small holes from the inside by pushing a thin adhesive-backed fabric or synthetic patch into the lining. Stitch through the patch and upper using polyester or nylon thread with a curved needle or sewing awl for thicker sections. Lock each stitch with a short backstitch, then seal the seam with a clear sealant to reduce water ingress and abrasion. Remove scuffs by cleaning with a mild detergent. For stubborn marks, gently abrade with a melamine foam sponge. Rebuild surface colour on synthetic leather with very thin layers of flexible fabric paint or a colour-matched repair compound, testing the shade in an inconspicuous spot first. Finish with a matt, flexible sealant to protect the repair once you are happy with the match. Restore eyelets and fastenings by fitting stitch-on or press-in replacements. Stabilise overstretched holes with an internal patch. Trim fraying laces and fuse synthetic tips, or repurpose cord if needed. Reinforce worn hook-and-loop fastenings or buckles with a sewn panel to extend their life. Monitor high-stress zones such as heel counters and toe boxes. Add a thin insole or heel cup to slow interior wear, and apply a compatible waterproofing or protective rubberised coating. Keep repairs discrete and flexible so they move with the trainer rather than pulling at adjacent materials.
Wear a soft, mid-weight jogger for repair-time comfort

Protect your trainers with simple treatments, proper storage and regular care
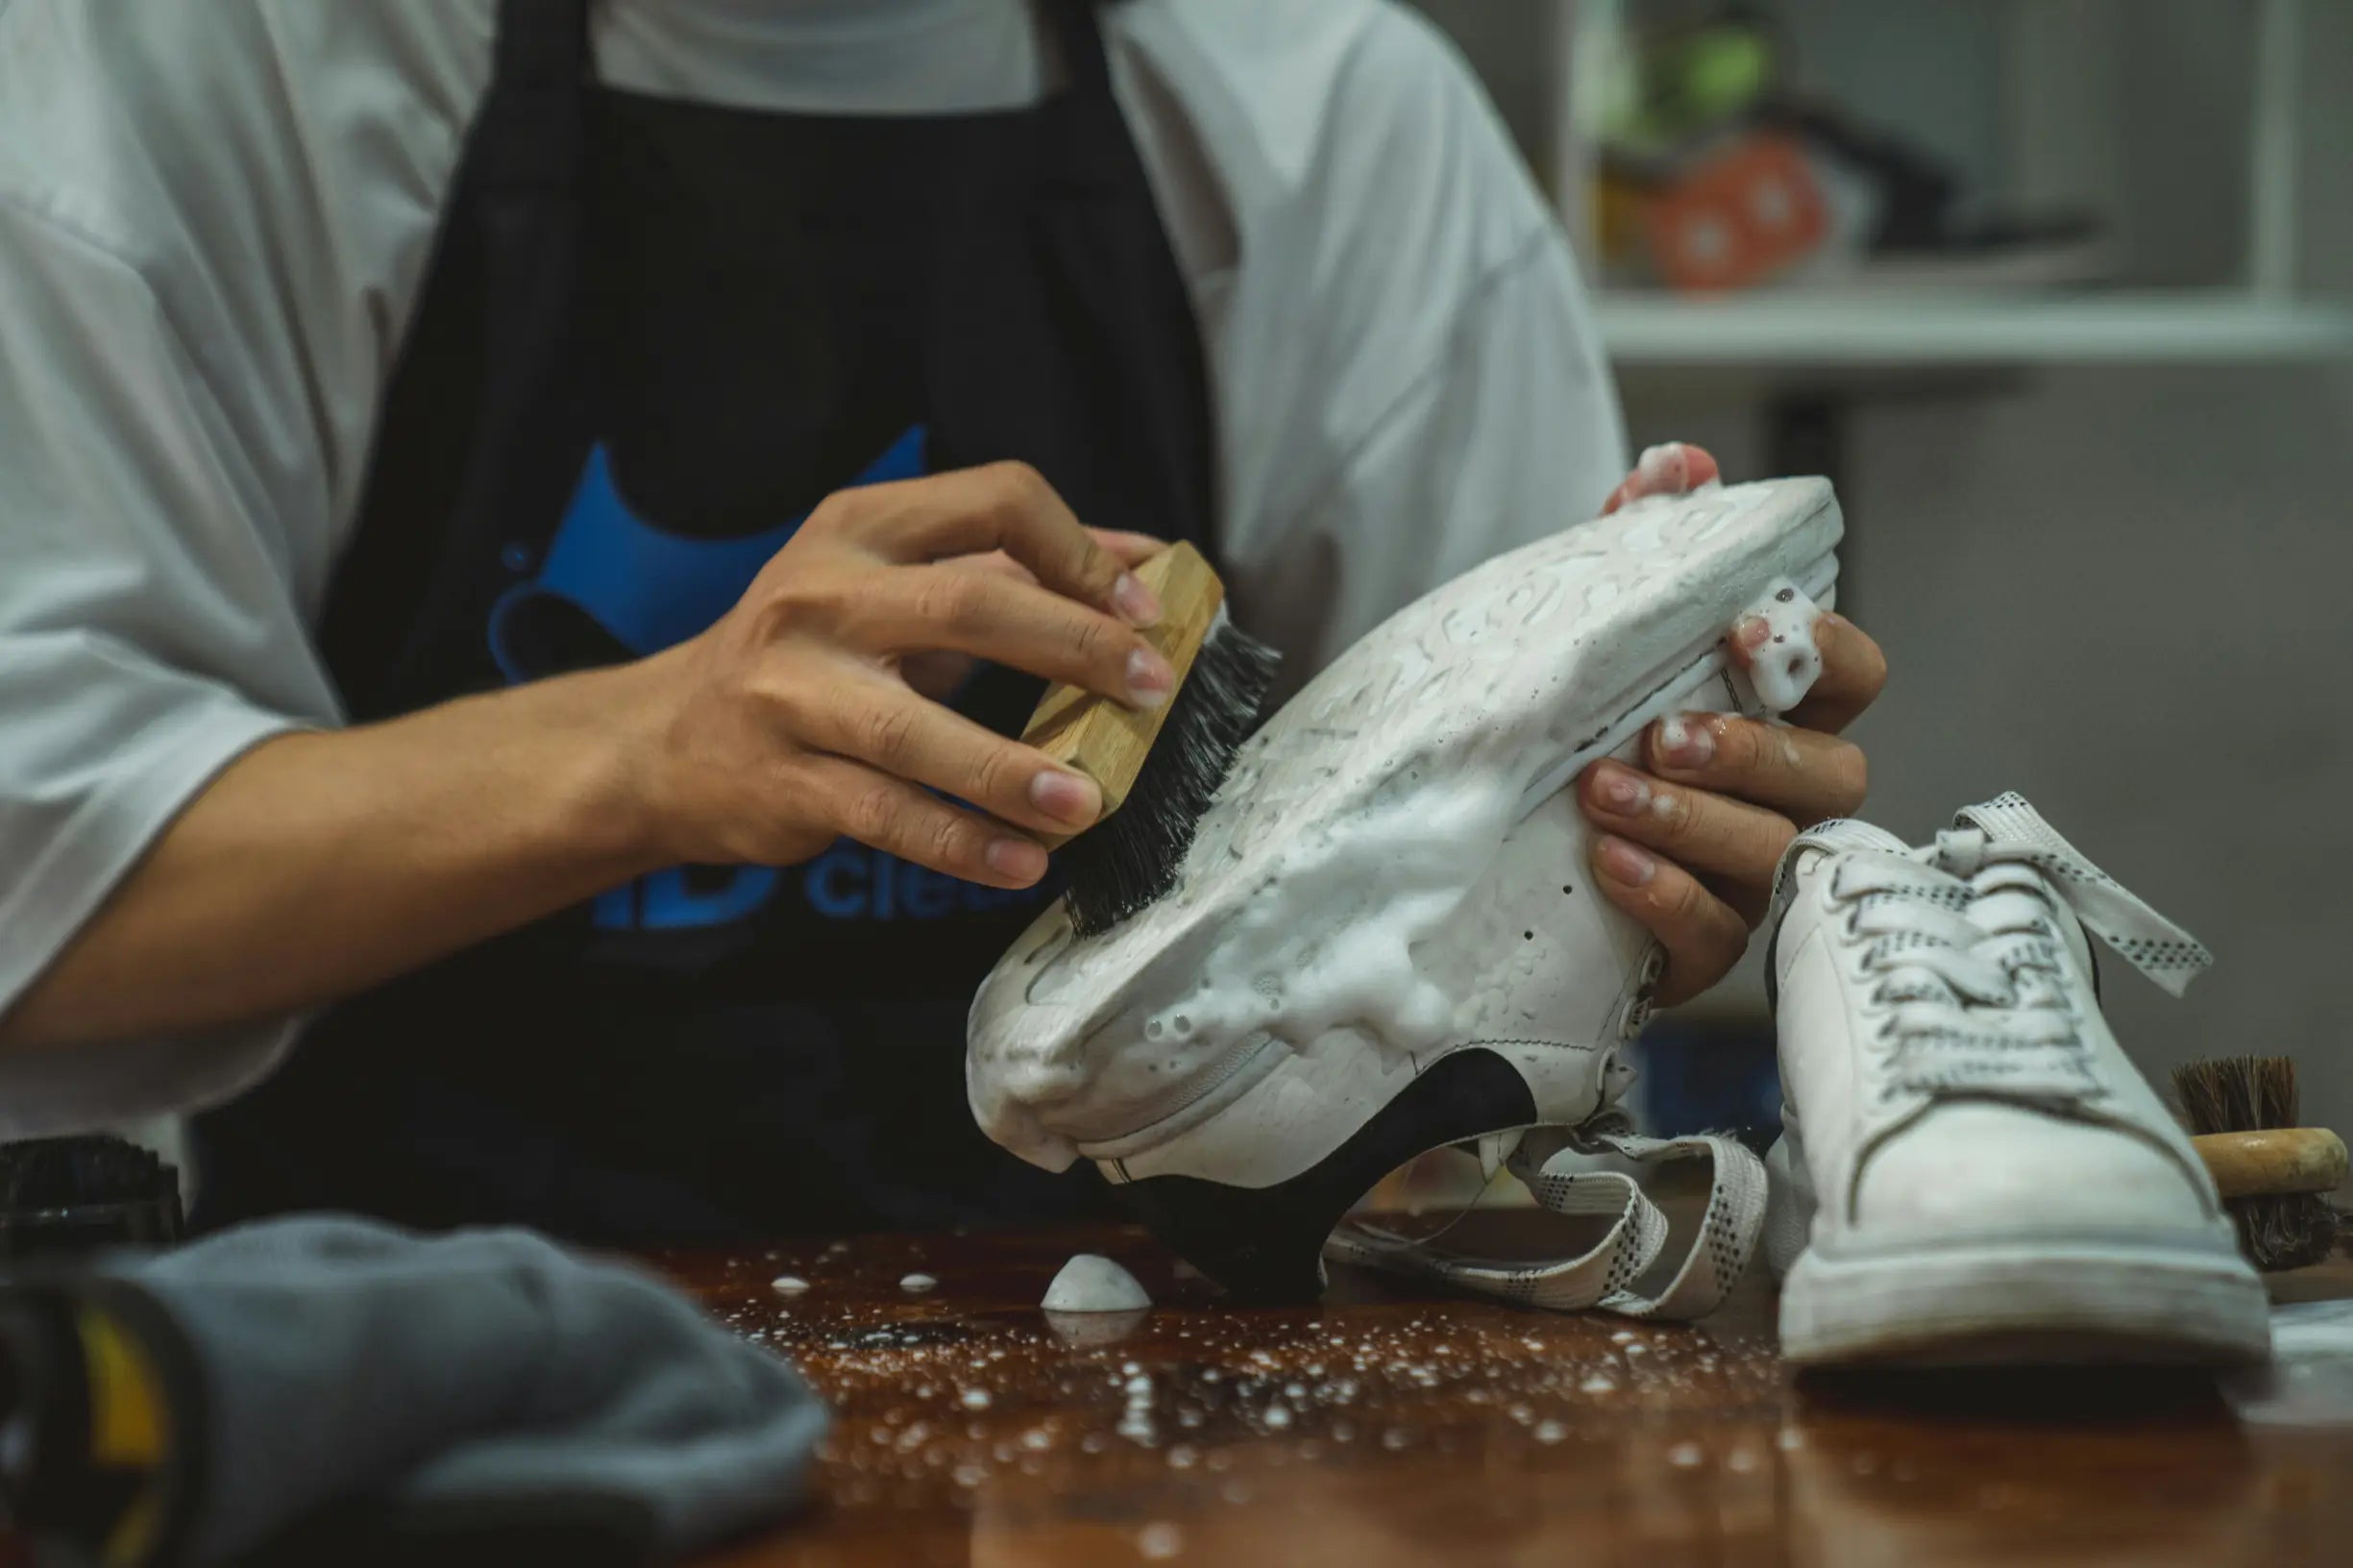
Before treating or storing vegan trainers, brush away grit with a soft brush. Spot-clean uppers and midsoles with a damp cloth and a mild pH-neutral soap, then allow the materials to return to ambient humidity so trapped dirt and moisture do not accelerate abrasion or encourage odour-causing bacteria. Always test any cleaner on an inconspicuous area first. Apply thin coats of a water-repellent or a synthetic-leather conditioner designed for faux materials, buffing between coats to restore texture. A well-applied surface barrier will reduce water absorption and salt staining and help slow the breakdown of adhesives and stitching.
Keep trainers, sneakers and high tops ready for action with a few simple habits. Store them with acid-free tissue or shaped shoe trees in breathable bags or a ventilated cupboard, away from direct sunlight and sources of heat; avoid sealed plastic, which traps moisture and encourages mould. Reglue lifted soles with a flexible contact adhesive: press firmly as it sets and follow the adhesive manufacturer's guidance. Mend small tears by stitching with waxed polyester thread and a curved needle to spread stress and prevent the tear from running. Remove and wash laces and any washable insoles separately, and replace worn insoles to restore support and reduce the friction that wears uppers and seams. To keep interiors fresh between wears, sprinkle absorbent bicarbonate of soda inside unworn shoes to neutralise odour.
Keep your vegan trainers in stride with simple, targeted maintenance that preserves fit, function and appearance, delays disposal and reduces waste. Inspect for loose seams, re-glue separating soles, clean scuffs and replace insoles to restore comfort and extend usable life.
Begin with a careful inspection and a clean to identify and prioritise issues. Use targeted repair methods for soles, seams, scuffs and fastenings, then apply protection steps to slow future wear. Regular, modest checks and simple fixes often prevent small problems becoming major faults and keep trainers wearable, so tackle repairs you can manage before opting for replacement.