Which three trainer materials are easiest to repair, and how to spot them?
A tiny tear or a scuffed heel can make your favourite trainers feel ruined. But some materials mend far more easily than others. Choosing the right materials and learning how to spot them will help you keep trainers in use longer and avoid unnecessary replacements, cutting waste and supporting more sustainable habits.
Learn why leather, suede and canvas take stitching and patches more readily, making repairs far easier than with many synthetic materials. This guide also shows how to read labels, inspect stitching and texture, and carry out simple touch and bend tests before you buy, so you can choose trainers that are genuinely repairable and built to last.

1. Opt for vegan leathers, suede alternatives and canvas to ease repairs
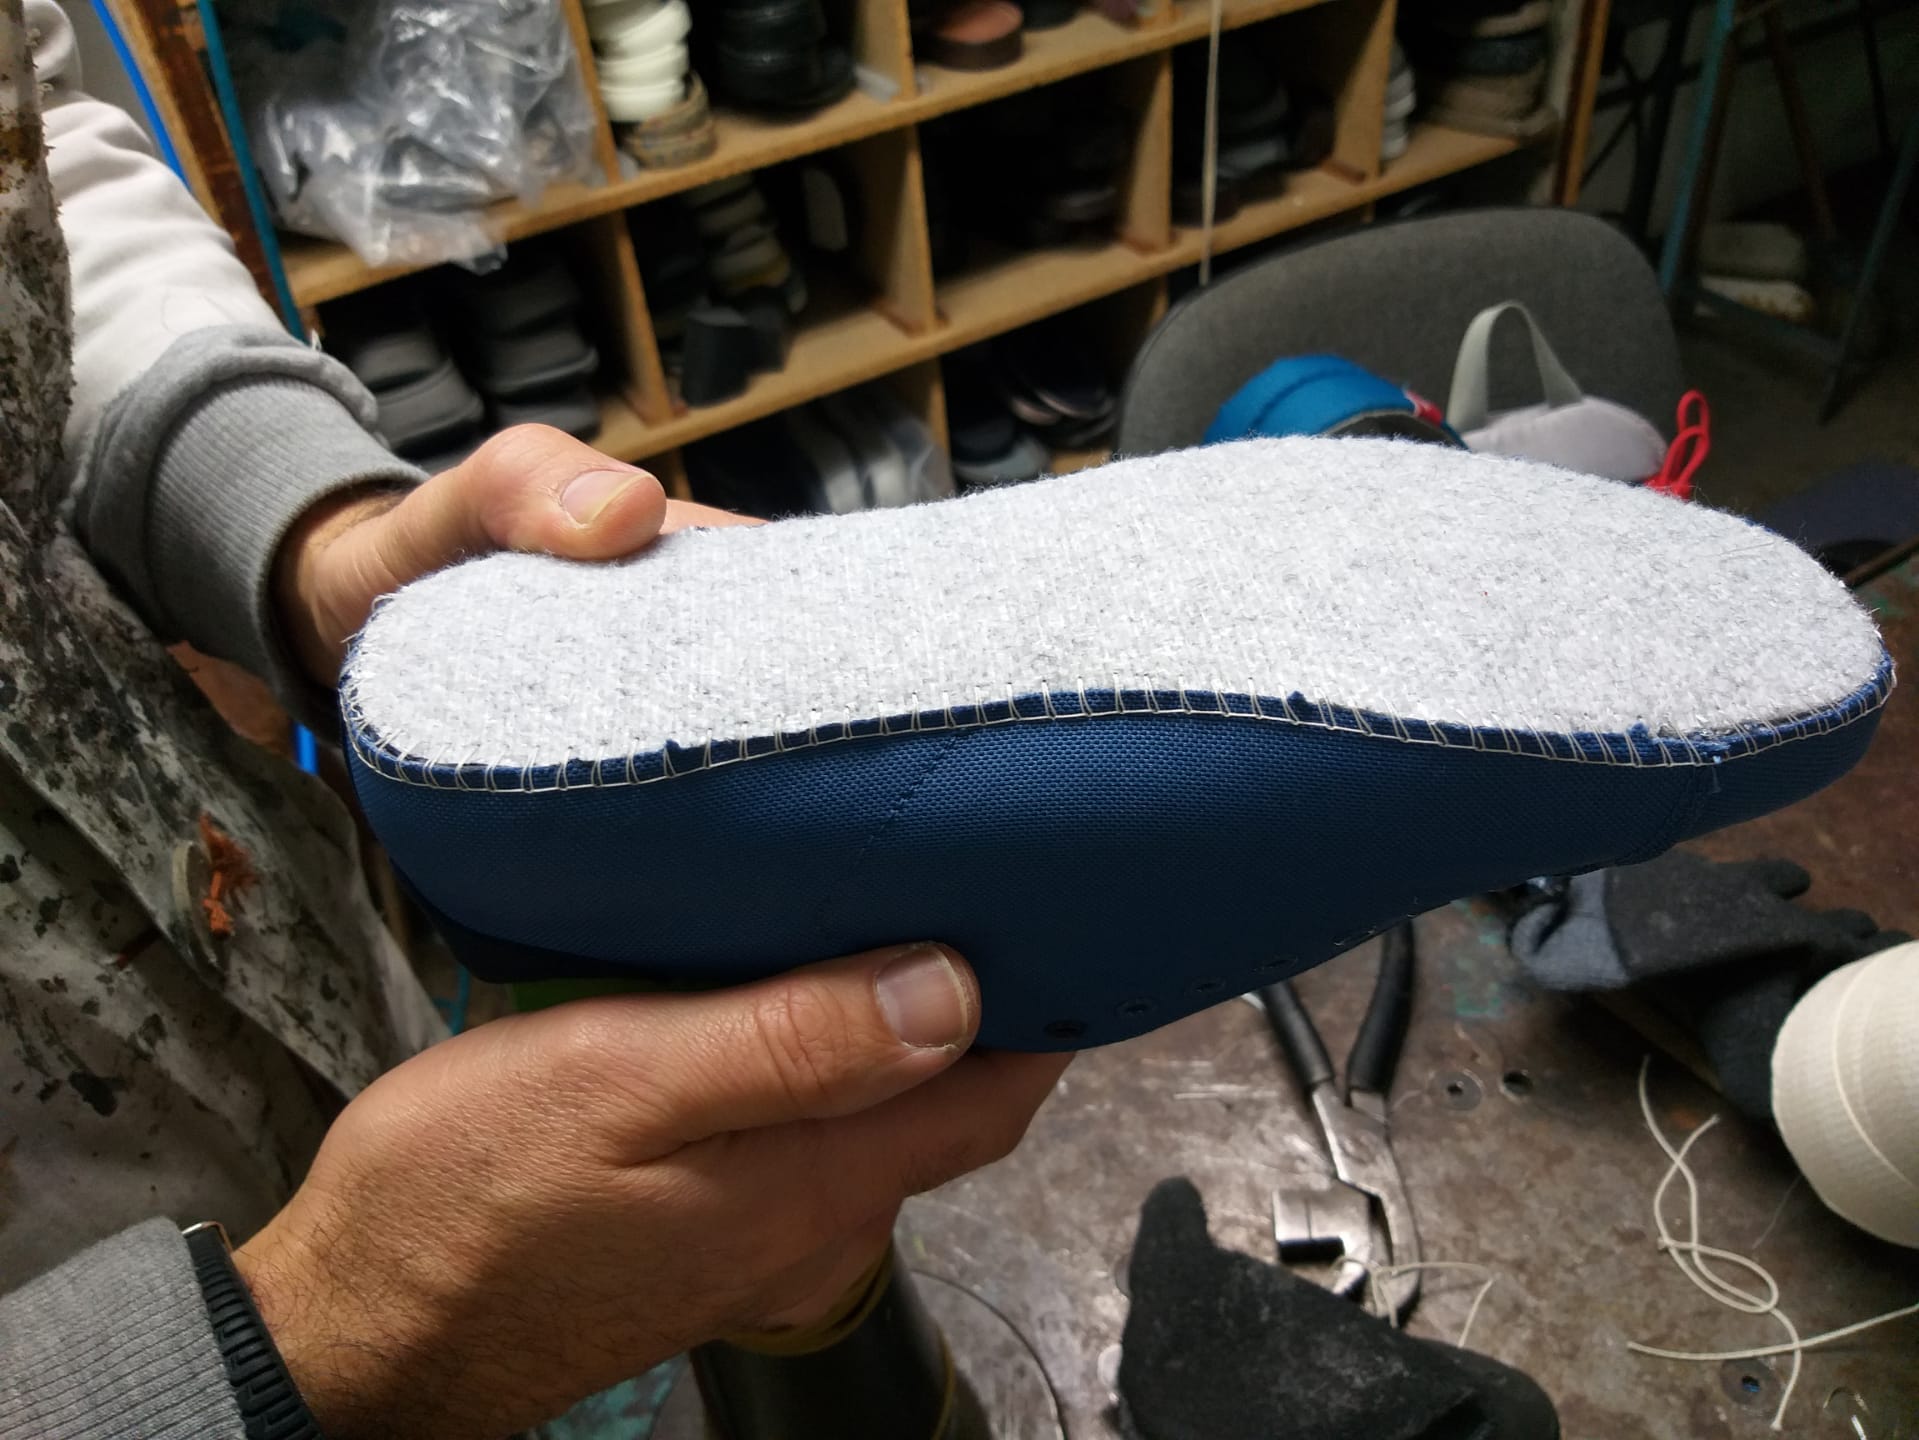
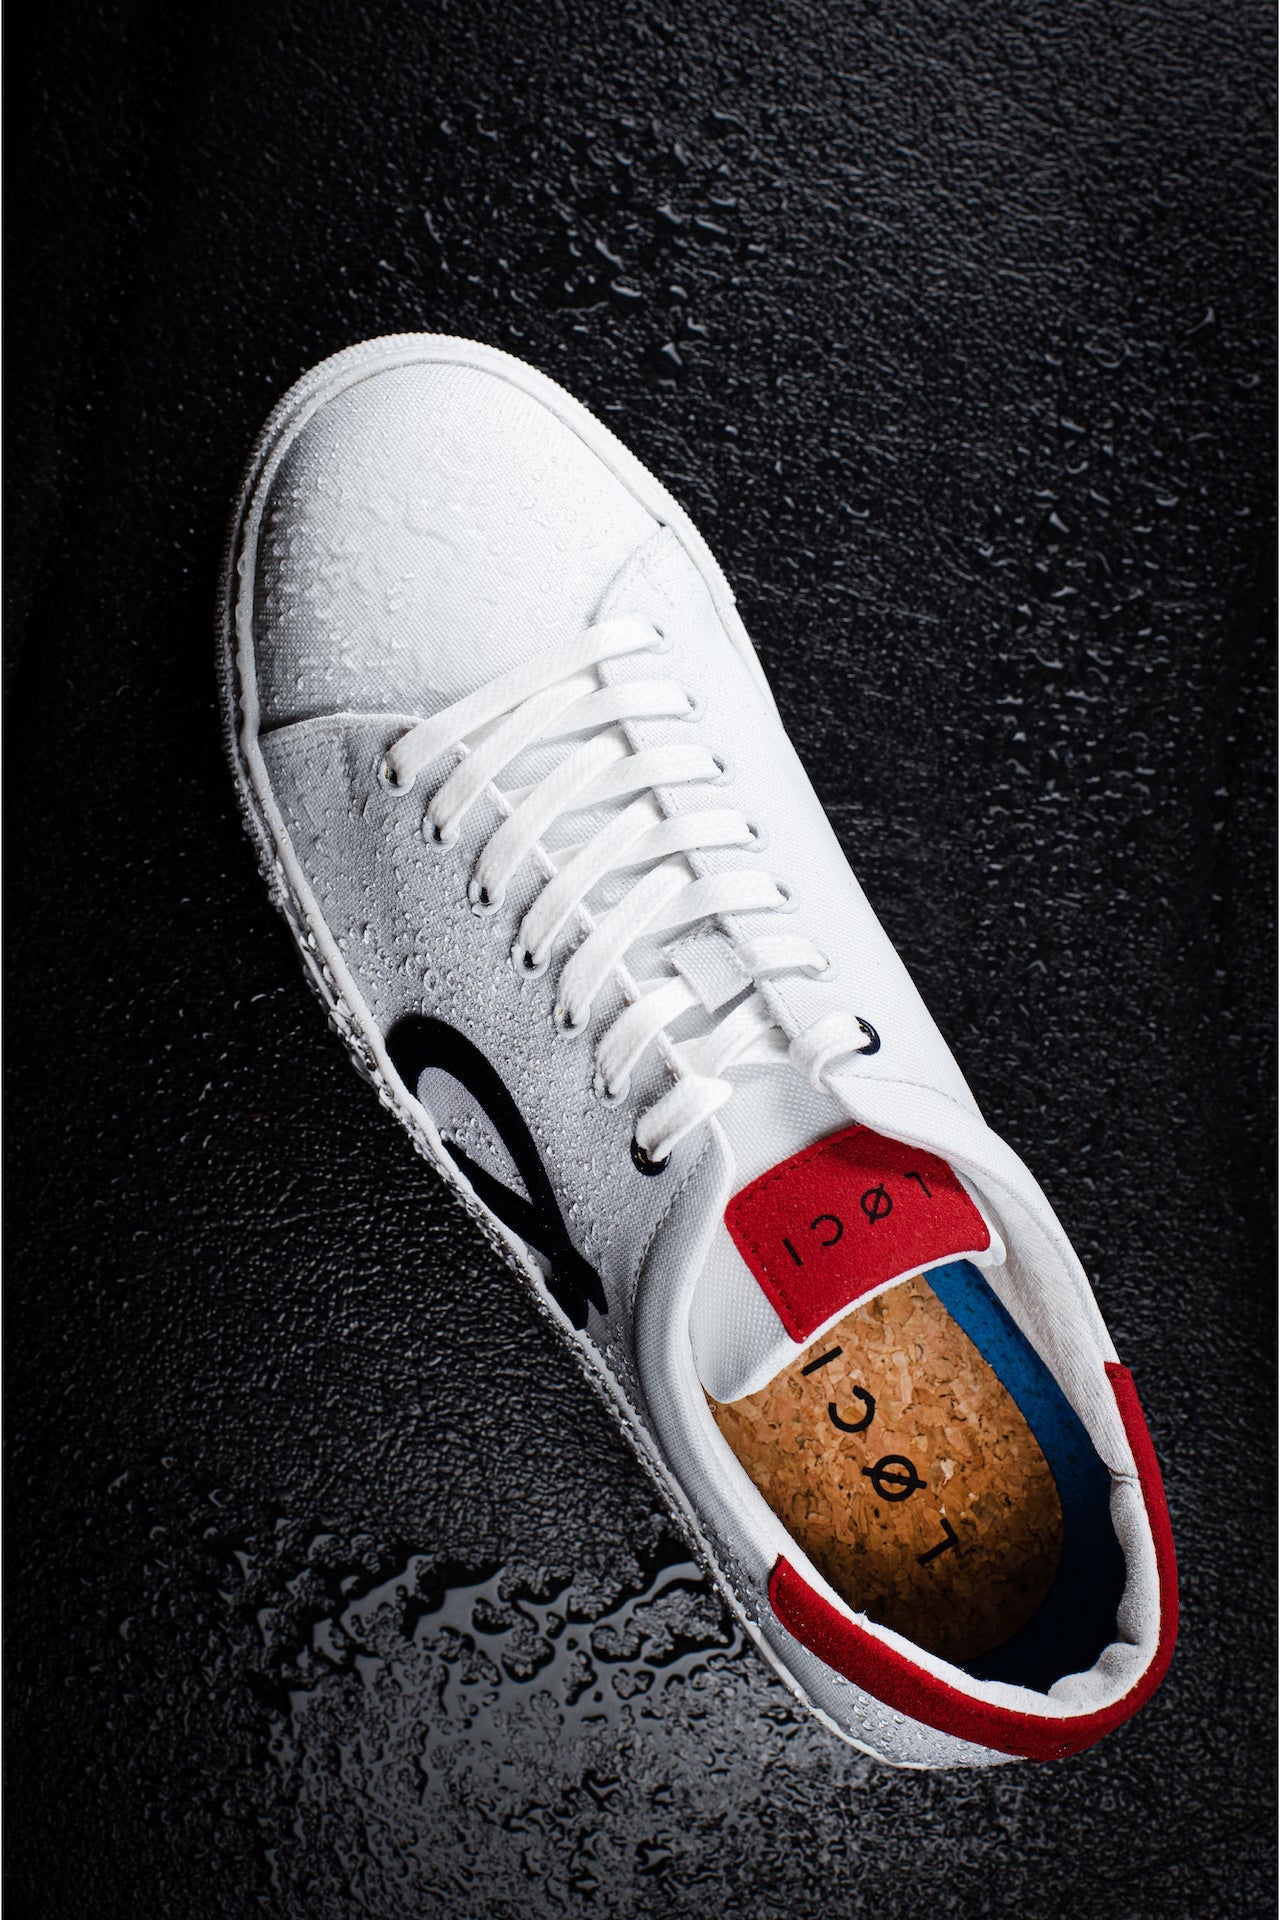
Leather, suede and canvas are the easiest upper materials to repair because each has structural advantages for mending. Leather’s dense, fibrous grain takes stitching, flexible adhesives and dye well; suede’s raised nap hides scuffs and helps reattach separated layers; canvas’s woven construction accepts patches and restitching with minimal reshaping. You can identify these properties by eye and touch: run a fingertip to feel a smooth sheen, a velvety nap or a woven texture, and inspect cut or folded edges for a fibrous leather core, a suede backing or a fabric weave. Where possible, peel back tongues or linings to confirm the upper material and pick the corresponding repair approach for your trainers, sneakers or high tops.
For quick repairs to trainers and sneakers, follow these material-specific steps. Leather: Clean the area, lightly roughen the edges with fine sandpaper, then either stitch or use a flexible shoe adhesive. Once repaired, condition the leather and test the colour match on an inconspicuous area. Suede: Gently brush the nap to remove dirt and use a suede eraser for stubborn marks. Where needed, use a suede-friendly adhesive or stitch from the interior, then lift and reset the pile with a soft brush to restore texture. Canvas: Trim loose threads, apply an internal patch for strength, then secure with a whip stitch or a close zigzag for durability. Always test any adhesive on a hidden patch first. A compact toolkit will cover most jobs: a soft brush and suede eraser, an awl and heavy-duty needles with polyester or waxed thread, a flexible shoe adhesive, matching leather or fabric scraps for patches, and clean cloths for cleaning and colour tests. Avoid DIY when you see a uniform repeating grain or a plasticky sheen that suggests a coated or synthetic upper, exposed foam or fabric backing that resists stitching, large sole separations, or extensive colour loss that needs specialist dye matching. In those cases, seek a professional repair.

2. Inspect labels, stitching and texture to identify trainer materials
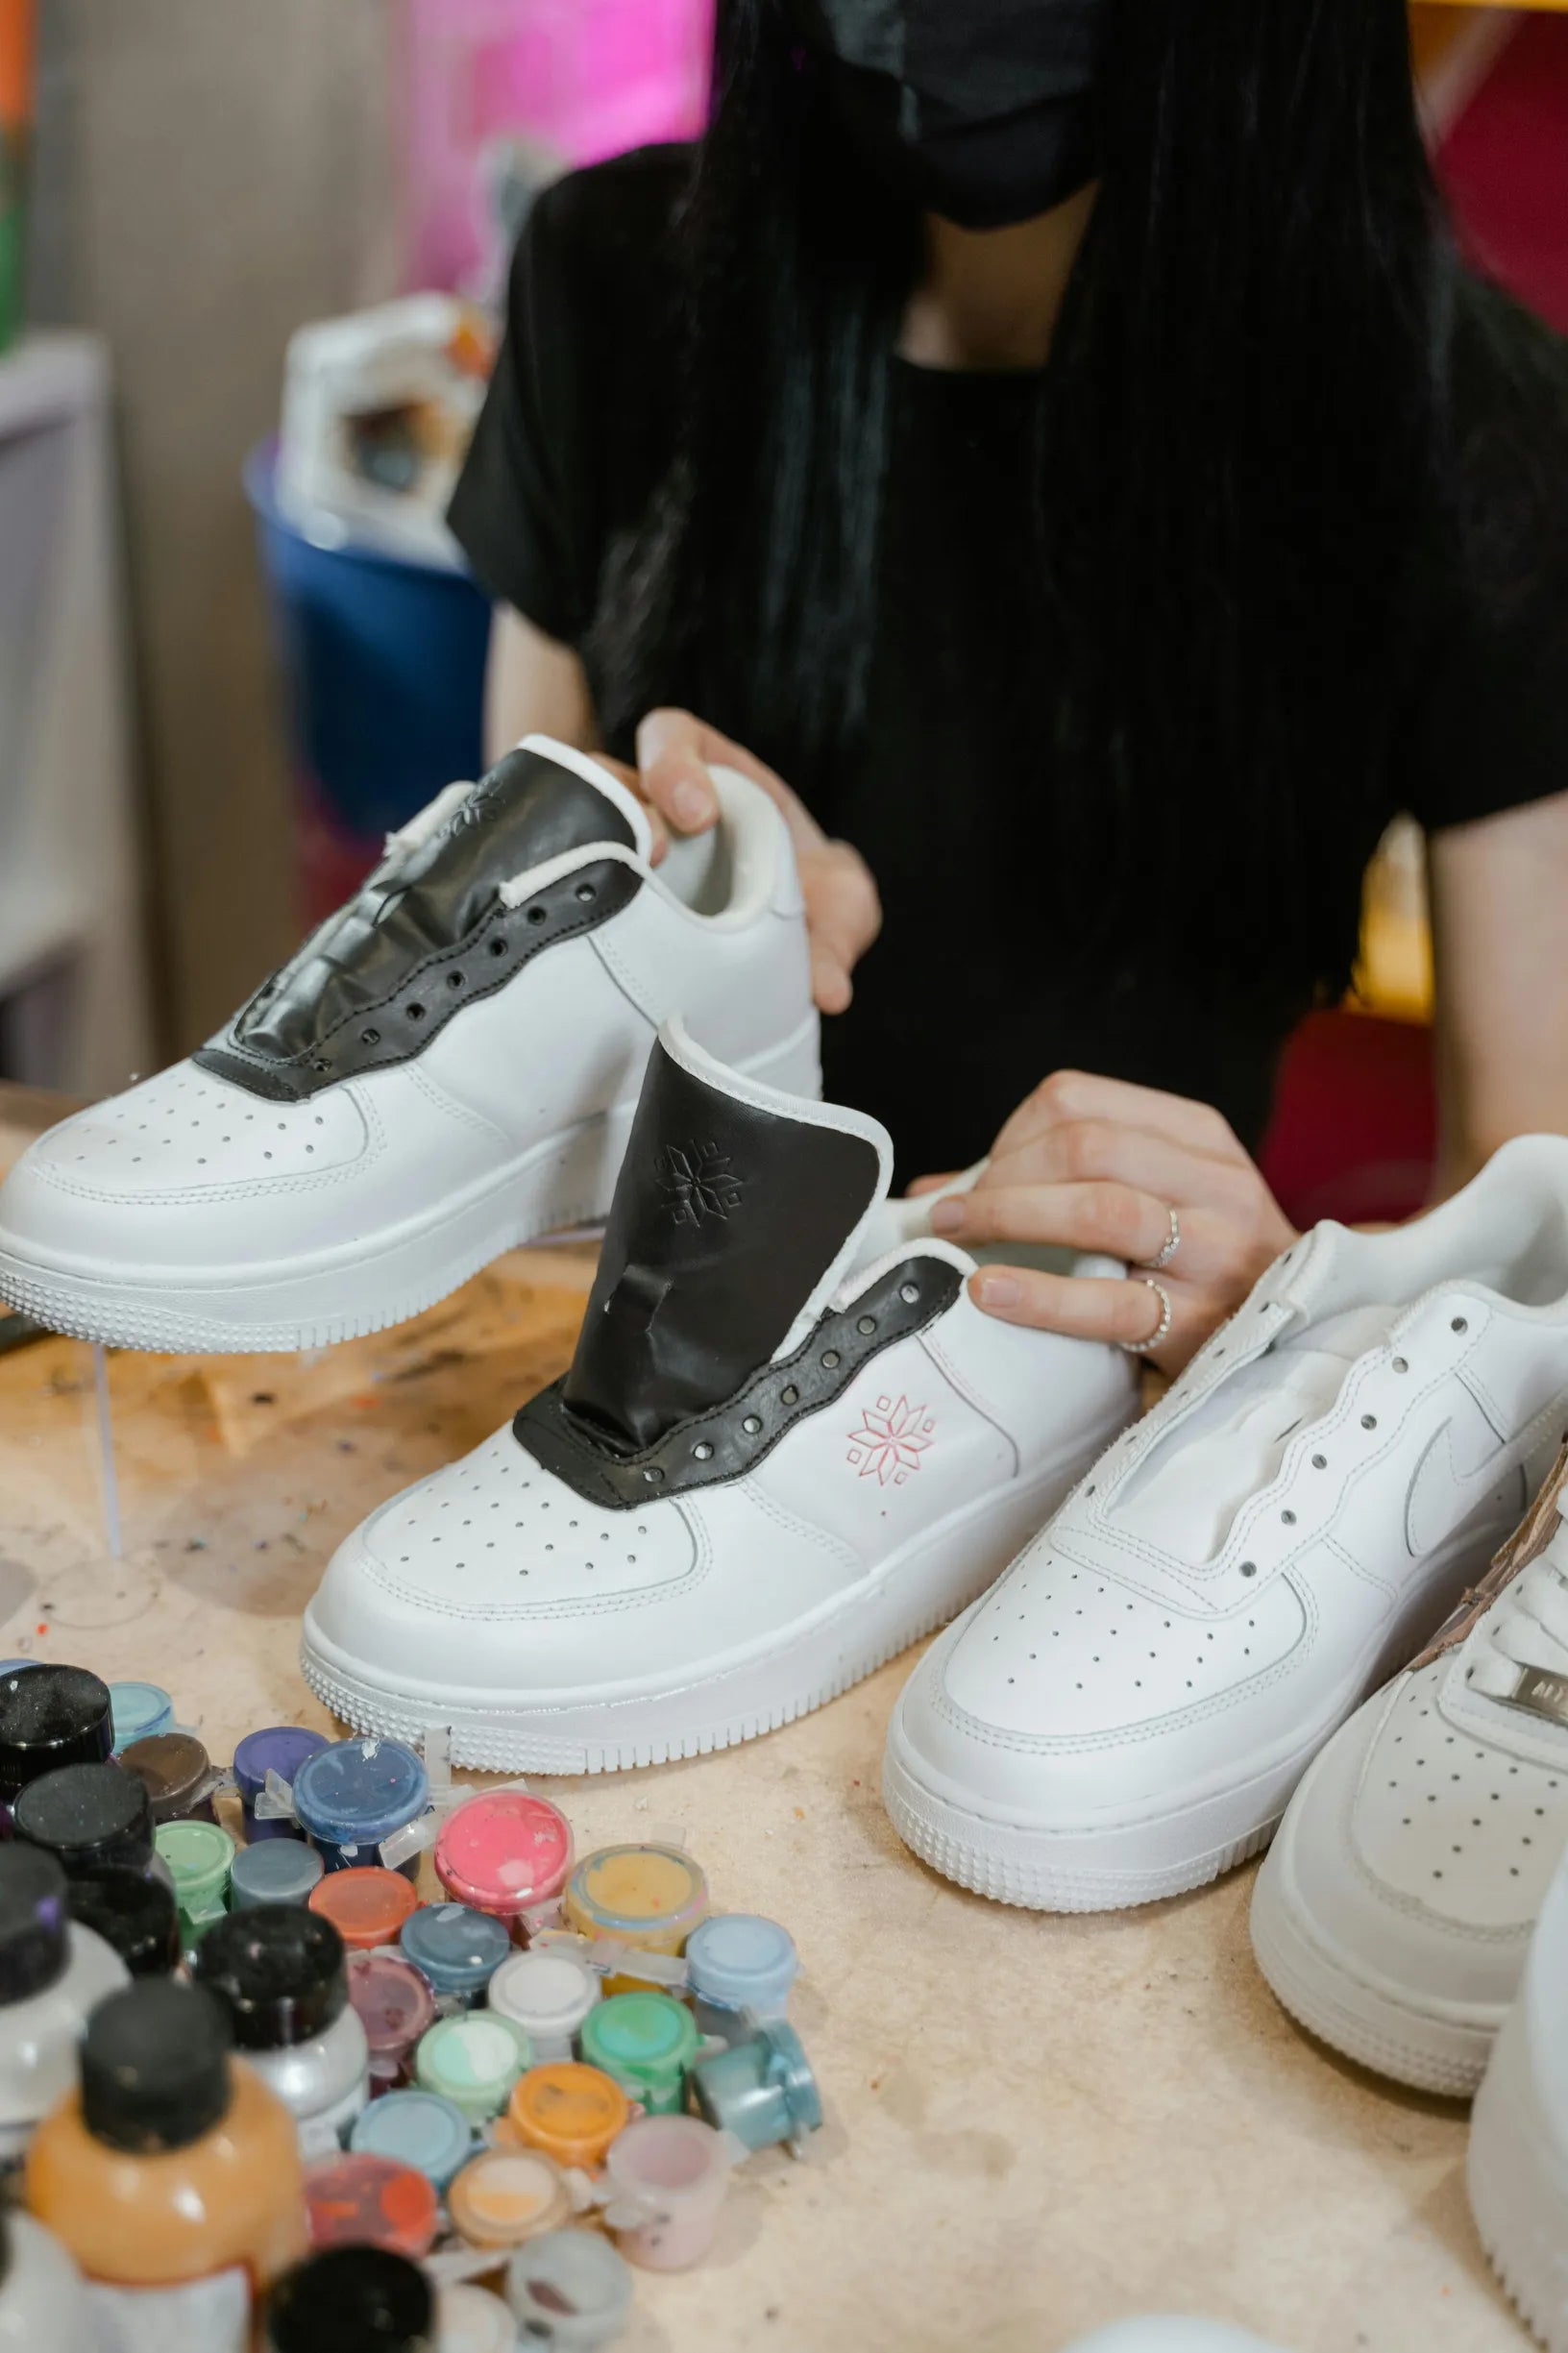
When assessing trainers or sneakers for repairability, start with the internal labels and stamped marks inside the tongue, beneath the insole and along the inner heel. Look for wording or pictograms such as leather, textile or man-made materials, as these keywords point to likely repair routes. Next, inspect how the upper meets the sole in bright light or with a magnifier: visible through-stitching or a neat row of stitches around the sole usually means the upper can be restitched or resoled, while edge-only stitching or a continuous glued joint suggests adhesives will be the main repair method. Finally, note stitch density and thread thickness, and check for backstitching or bar-tacks at high-stress points, since reinforced seams tolerate sewing-based repairs much better than sparse, weakened threads.
Inspect stitch quality closely. Dense, thick thread, consistent backstitching and bar tacks point to a construction that will tolerate rework; sparse stitching is more likely to unravel and may need reinforcing. Run tactile tests: press the grain, rub the nap, bend the toe and place a tiny droplet of water on an inconspicuous spot to observe behaviour. Genuine leather creases and absorbs slowly, coated leathers and many synthetics will bead, and knits tend to stretch and recover. Check internal edge finishing and the sole attachment for exposed foam, visible adhesive layers or a distinct midsole line, then flex the trainer gently to see where separation begins. Combine these observations to decide whether restitching, resoling, patching or adhesive-led repairs are the most appropriate outcome for that construction and material.

3. Check repairability before buying with quick, practical tests
To judge how repairable a pair of trainers is, check a few simple details. - Sole junction: run your fingernail around the join between upper and sole. Continuous running stitches or visible welt stitching usually mean the sole can be re-stitched or re-soled. A uniform, threadless join generally indicates a glued sole that will be harder to replace. - Flex test: bend the trainer at its natural crease and press the sole edge. If the sole creases predictably and snaps back, it is likely a layered assembly a cobbler can open. If the sole lifts, peels or bulges when pinched, that points to weak adhesion or a fused moulding that resists repair. - Insole inspection: lift or remove the insole to see how the inner sole is fixed. Visible stitch rows, tacks or nails reveal mechanical fixing that can be replaced. A smooth glue film under the insole shows a bonded assembly with fewer repair options. - Fixings and finishes: check eyelets, heel counters and seam finishes. Metal eyelets, stitched counters and bound edges make part replacement straightforward, while heat-welded seams or bonded edges limit where a repairer can work. These checks help you choose trainers that can be repaired and kept in use for longer.
Gently pinch a small, concealed area of the upper on your trainers or sneakers to see how the material reacts. Dense woven fabrics and leather usually accept stitches and patches well. Single-layer knits, bonded synthetics and fragile foams tend to tear, fray or delaminate when pierced. Taken together, visible mechanical fixings, predictable creasing and reinforced edges usually point to straightforward repair paths, while smooth glue films, fused soles and heat-welded seams indicate more limited mending options. Share these observations with a cobbler or repairer to get a realistic view of what can be replaced, re-stitched or patched.
Choose trainers made from woven canvas, natural-fibre textiles or high-quality plant-based leathers and microfibre fabrics, because their fibres and weaves accept stitching, patches and flexible adhesives more predictably than many coated or foam-backed synthetics. Read labels, inspect stitch density and feel the grain and nap to identify these materials and the construction details that determine whether stitching, patching or adhesive repairs will be effective. Prioritising repairable materials helps extend the life of your trainers and reduce waste.
Follow the guide's material-specific instructions for cleaning, stitching and patching. Carry out simple in-store flex and insole checks to judge repairability before you buy, and note what you find. Share those observations with a repairer, or opt for trainers with visible stitching, reinforced edges and predictable creasing to make sensible, long-lasting choices.