Buy with Confidence: Spot Genuinely Vegan Trainers Using a Simple Checklist
Shopping for vegan trainers can feel like navigating a maze of labels, vague claims, and unfamiliar materials. How do you separate genuinely animal-free pairs from clever marketing, and spot trainers built to last before you buy?
Follow this checklist to verify vegan materials and labelling, evaluate sustainability and supply-chain transparency, inspect build quality for lasting performance, match fit and support to how you move, and plan care, repairs, and end-of-life options. Use it when shopping to choose trainers that perform and last, and to spot products that merely appear ethical.

How to authenticate vegan materials and labelling: a practical checklist
Break a trainer down into upper, lining, insole, sole, trims, and adhesives, and verify each material on the label. If the label simply reads "man-made materials", ask the retailer or manufacturer for a full materials specification. Learn to recognise terms that indicate animal content, such as leather, suede, nubuck, wool, silk, down, casein, collagen, gelatin, shellac, lanolin, carmine, and cochineal, because some names that sound synthetic can still trace back to animal sources unless the composition is shown. Check beyond visible parts: adhesives, glues, linings, and finishes frequently contain animal-derived components. When in doubt, request a declaration of composition or a certificate confirming vegan status.
Ask for documentation that reveals what you cannot see: an independent vegan certification, the Safety Data Sheet for adhesives, and specifications for dyes and finishing chemistries, since these documents list chemical and protein ingredients. Ask whether colours, leather substitutes, or water-repellent coatings rely on animal-sourced colourants, waxes, or glycerides, because small finishing agents can make an otherwise synthetic trainer non-vegan. Use simple in-store checks to corroborate what you are told: look for the leather-hide pictogram or internal leather stamps, examine cut edges for fibrous layers, and compare feel and grain with known synthetics. Treat these clues as prompts to request written confirmation, not as definitive proof.
Choose a vetted vegan sneaker for durable everyday wear.

How to Assess Sustainability and Supply Chain Transparency in Fashion
Ask for a supply-chain trace or supplier list that names raw material suppliers, factory locations, and the percentage of materials the company can verify. Prefer interactive supplier maps, traceable batch codes, or QR links, since these provide stronger evidence than vague marketing. Verify recognised third-party certificates for recycled content, material safety, and animal-free claims, and cross-check certificate numbers or registry entries with the certifier rather than relying on badge imagery. Read product composition for exact material names, and request technical data sheets or material safety data sheets (MSDS) when wording is unclear. When evaluating trainers or sneakers, ask specifically about adhesives and trims, because animal-derived glues or unknown linings can undermine a vegan claim.
Look for factory-level transparency: published factory names, independent audit summaries, living-wage commitments, and worker grievance procedures. An anonymous supply chain limits what you can verify, so prioritise brands that disclose these details. Ask for life-cycle assessments and verifier-backed figures for recycled or bio-based inputs to quantify environmental impact and circularity. Check whether companies run repair, take-back, or recycling programmes and provide practical evidence, such as repair guides or mono-material design notes that make end-of-life solutions workable. When brands publish public audit summaries, traceable batch information, and cross-checked certificates, you get the concrete evidence needed to judge whether trainers are genuinely vegan and sustainable.
Choose garments with verified recycled-content certifications.

Evaluate sneaker construction for lasting performance and durability
When inspecting trainers, count the stitches per centimetre at the toe, vamp (front upper), and heel. Check for doubled or bar-tacked rows at stress points. Uneven, skipped, or frayed stitching, and loose thread tails, indicate seams that may open under load, while tight, even rows suggest better long-term durability. Examine cut edges, grain patterns, and smell to verify materials. A repeating, overly regular grain, plastic sheen, or fibrous fabric backing usually points to man-made materials. Genuine leather, by contrast, shows irregular pores and fibrous flesh at the cut edge. Use a small, discreet drop of water on an internal seam to test absorbency. Coated synthetics will tend to bead and shed the drop, whereas porous hides or uncoated materials will absorb it. The test reveals absorbency differences without harming visible surfaces.
Inspect the join between the upper and sole: contact should be uniform, with no gaps or excess adhesive. Flex the trainer by hand; the sole should spring back rather than separate. Visible stitching through the sole, or a tight welt, provides clear evidence of repairability. A clean, cemented join points to modern, lightweight construction. Press the midsole to assess rebound and compression set. Examine the tread depth and pattern for multi-directional grip; deeper grooves and denser rubber in high-wear zones signal greater abrasion resistance. Remove the insole where possible to check for hidden glue, seam sealing, and tags that declare material content. Note mesh panels, perforations, or channelled footbeds that promote airflow, and whether the insole is removable and washable for practical comfort.
In-store inspection checklist for build quality
- Do a quick hands-on sweep: count stitches per centimetre at the toe, vamp, and heel, flex the shoe to see whether the sole springs back or separates, and press the midsole to assess rebound and compression set.
- Inspect seams and cut edges for material clues: seek tight, even stitch rows and doubled or bar-tacked stitches at stress points; check cut edges and grain for irregular pores and fibrous flesh rather than a repeating grain or plastic sheen that signal man-made materials.
- Examine the upper-to-sole join and outsole for serviceability: confirm consistent contact with no gaps or excessive adhesive residue, note visible stitching or a tight welt as evidence of repairability, and check tread depth and rubber density in high-wear zones for abrasion resistance.
- Run discreet, practical tests and checks: place a small water drop on an internal seam to reveal absorbency differences, remove the insole where possible to inspect hidden glue and content tags, and note mesh panels, perforations, or a removable, washable insole for airflow and ease of maintenance.

How to match fit and support to your activity and lifestyle
Map the trainer's technical features to the activity. Note stack height, midsole firmness, and sole pattern, and match them to the forces your activity generates rather than trusting labels. Bend the trainer to find the flex point; it should sit under the ball of your foot for an efficient gait. Inspect tread depth and pattern to judge whether the outsole will grip the surfaces you use. Finally, weigh the trainer and test upper stiffness: lighter, more flexible uppers favour speed and agility, while stiffer constructions provide more protection and support.
Test fit and support with a simple checklist. Measure your feet at the end of the day while wearing the hosiery or liners you plan to use, and try the trainer on both feet. Aim for roughly a thumb's width of space beyond the longest toe so the forefoot can splay on push off. Stand on a flat surface, or take a single-leg stance, to observe how your arch contacts the ground. If you use custom orthotics, favour trainers with removable insoles. If you overpronate, look for firmer midsole foam or a medial support element. Check heel lockdown by pressing the heel counter, then walk a few strides to detect slippage. A firm, cupped heel and a trainer that resists twisting underfoot indicate better torsional stability for lateral work. These practical checks help you align fit, support, and function to your needs, without relying on marketing claims.
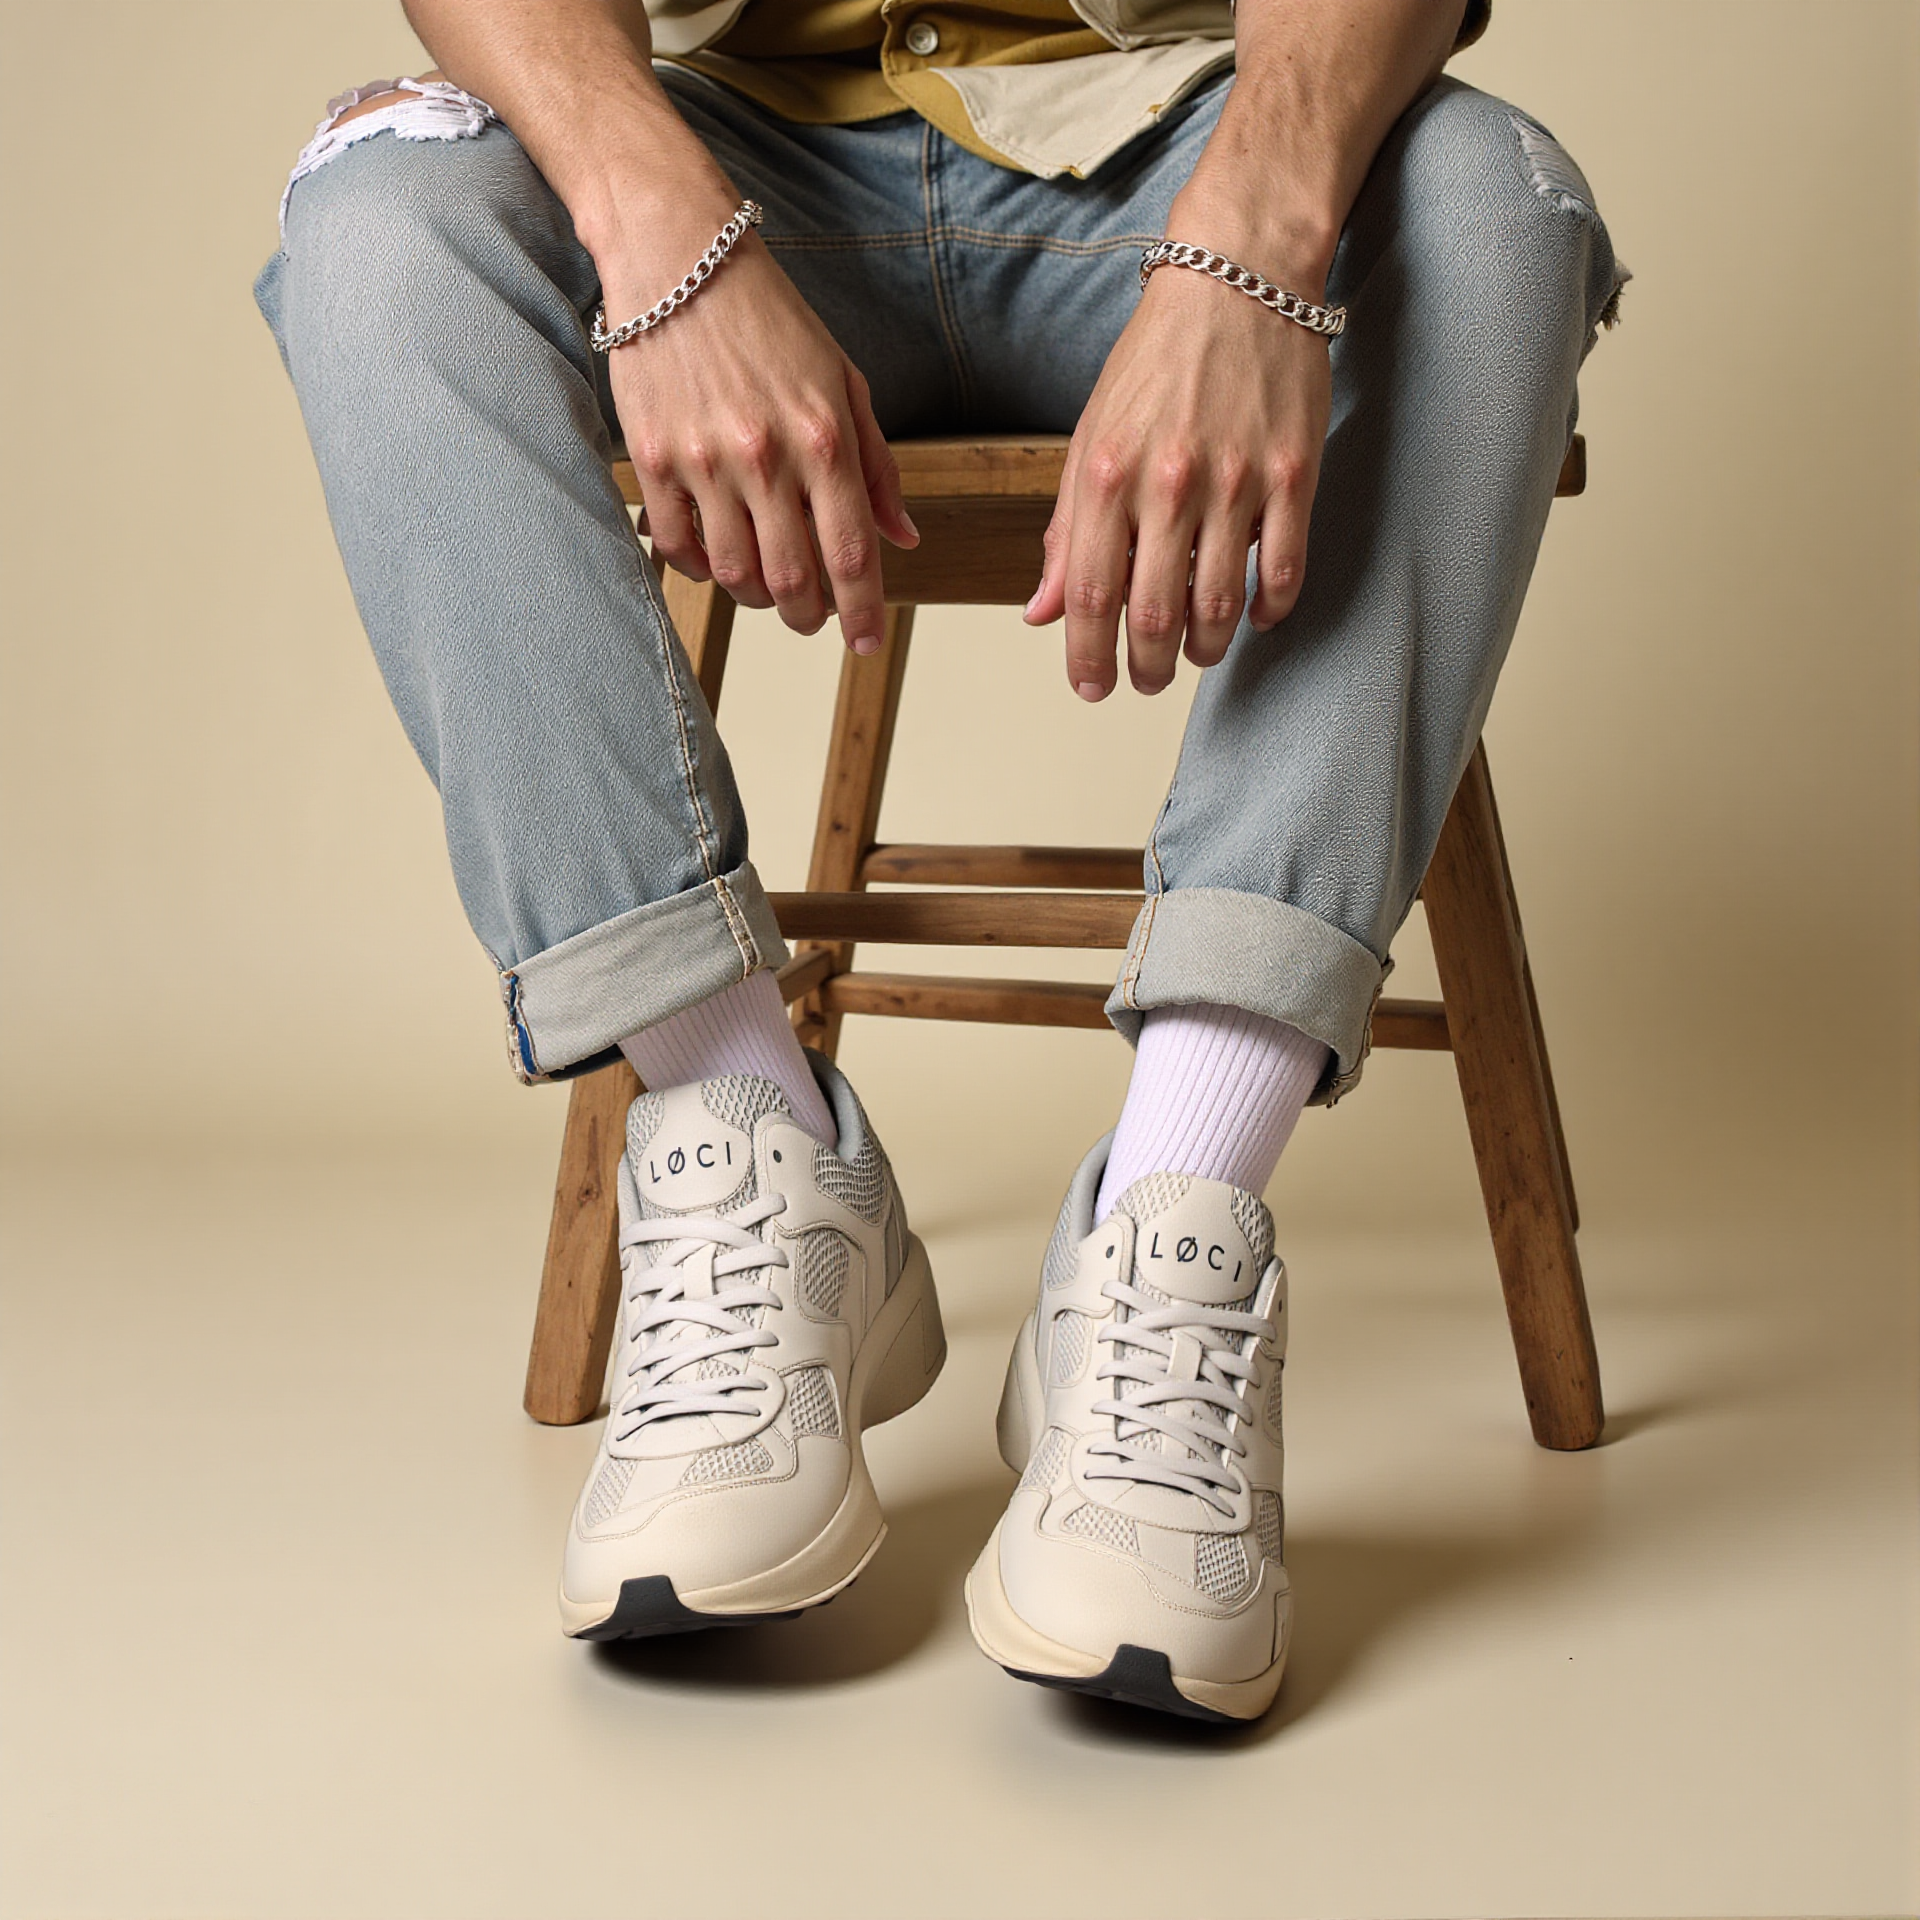
Offers responsive cushioning and secure fit for faster, efficient strides

How to plan care, repairs, and end-of-life options for your trainers
Match cleaning to the material on the label. Hand-clean synthetic leather with a soft cloth and a pH-neutral soap. Wash canvas and knit trainers inside a washing bag on a gentle machine cycle, then air-dry away from direct sunlight to avoid distortion and colour loss. Assess repairability when selecting footwear. Favour visible stitching, replaceable insoles, and a clearly separate sole unit, because stitched or modular constructions allow resoling or patch repairs, while fully glued assemblies often lead to full disposal when the bond fails. Keep a compact repair kit: a soft brush, mild detergent, a blunt needle and strong thread, a suitable adhesive for synthetics, and spare laces and eyelets. Test any breathable water-repellent on a hidden area before treating scuff-prone zones, and reapply after heavy use.
Plan for end of life now to make your trainers easier to recycle and repair. Remove laces and insoles, clean the trainers, and note any material labels so recyclers and repairers know what they are handling. Choose the best route for each pair based on condition and materials: local textile recycling, a take-back or repair scheme, donation or resale for usable pairs, or creative upcycling for worn items. Verify compostable or recyclable claims with an independent third party to avoid misleading statements, and favour schemes that transparently document what happens to returned items. Keep a simple record of materials and any small repairs you make to help future repairers or recyclers act quickly.
Spot genuinely vegan trainers with this checklist: verify materials, scrutinise the supply chain, and inspect build quality, fit, and end-of-life options. Seek evidence you can check in store or request from manufacturers — material lists, certificates, safety data sheets — so ethical claims rest on verifiable facts, not marketing.
Use these headings as a quick pre-purchase checklist: Authenticate vegan materials and labelling, assess sustainability and supply chain transparency, inspect build quality, match fit and support, and plan care, repairs, and end of life. Work through each check before you buy: request material or certification details, note any small repairs, and keep simple documentation of materials and fixes. Choose trainers that suit how you will use them, prioritise durable construction, and confirm clear repair or recycling options so the pair performs well and has a viable end-of-life pathway.
